Quick Start
Get authenticated with Signia in less than 5 minutes! This guide will walk you through adding authentication to a React application.
What You'll Build
A simple React app with:
- 🔐 Login/Logout functionality
- 👤 User profile display
- 🔒 Protected routes
Prerequisites
- Node.js 18+ installed
- A Signia account (sign up at signiaid.com)
Step 1: Create Your Application
First, create an application in the Signia ID dashboard to get your credentials.
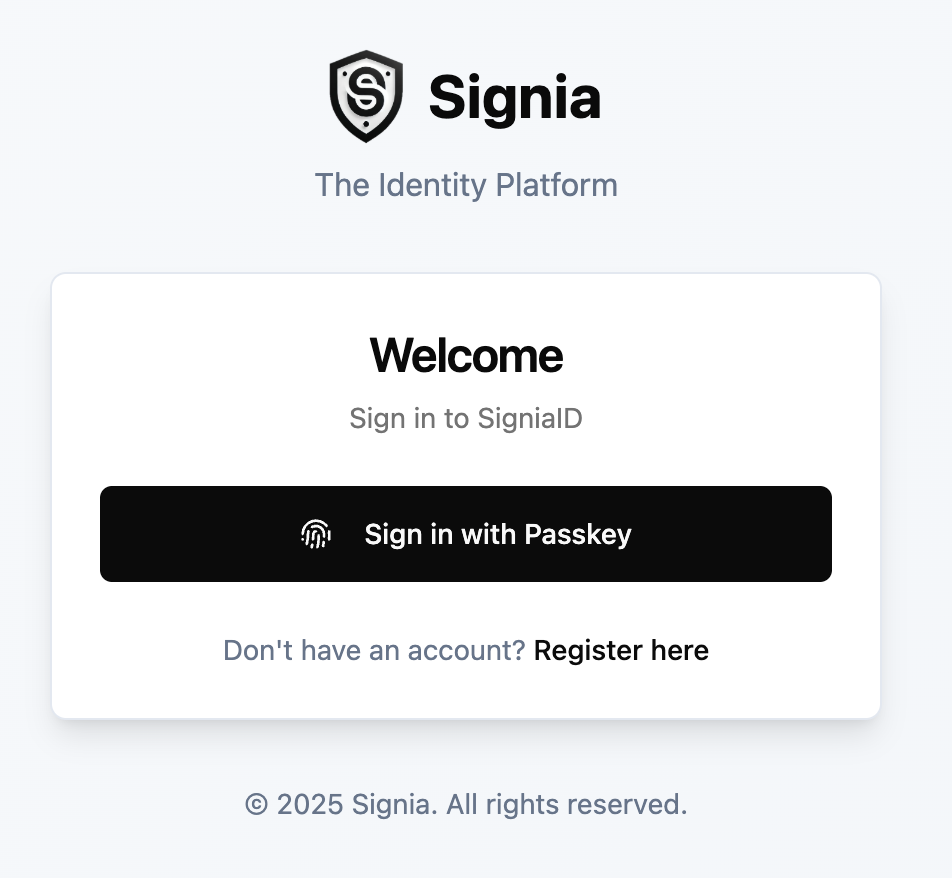
- Go to signiaid.com and log in
- Navigate to OAuth2/OIDC Applications
- Click Add Application
- Fill in your application details:
- Name: My App
- Login Redirect URI:
http://localhost:5173/oidc-callback/login
- Click Create
- Click the three dots menu (⋮) on your application card
- Add Logout URI:
http://localhost:5173/oidc-callback/logout
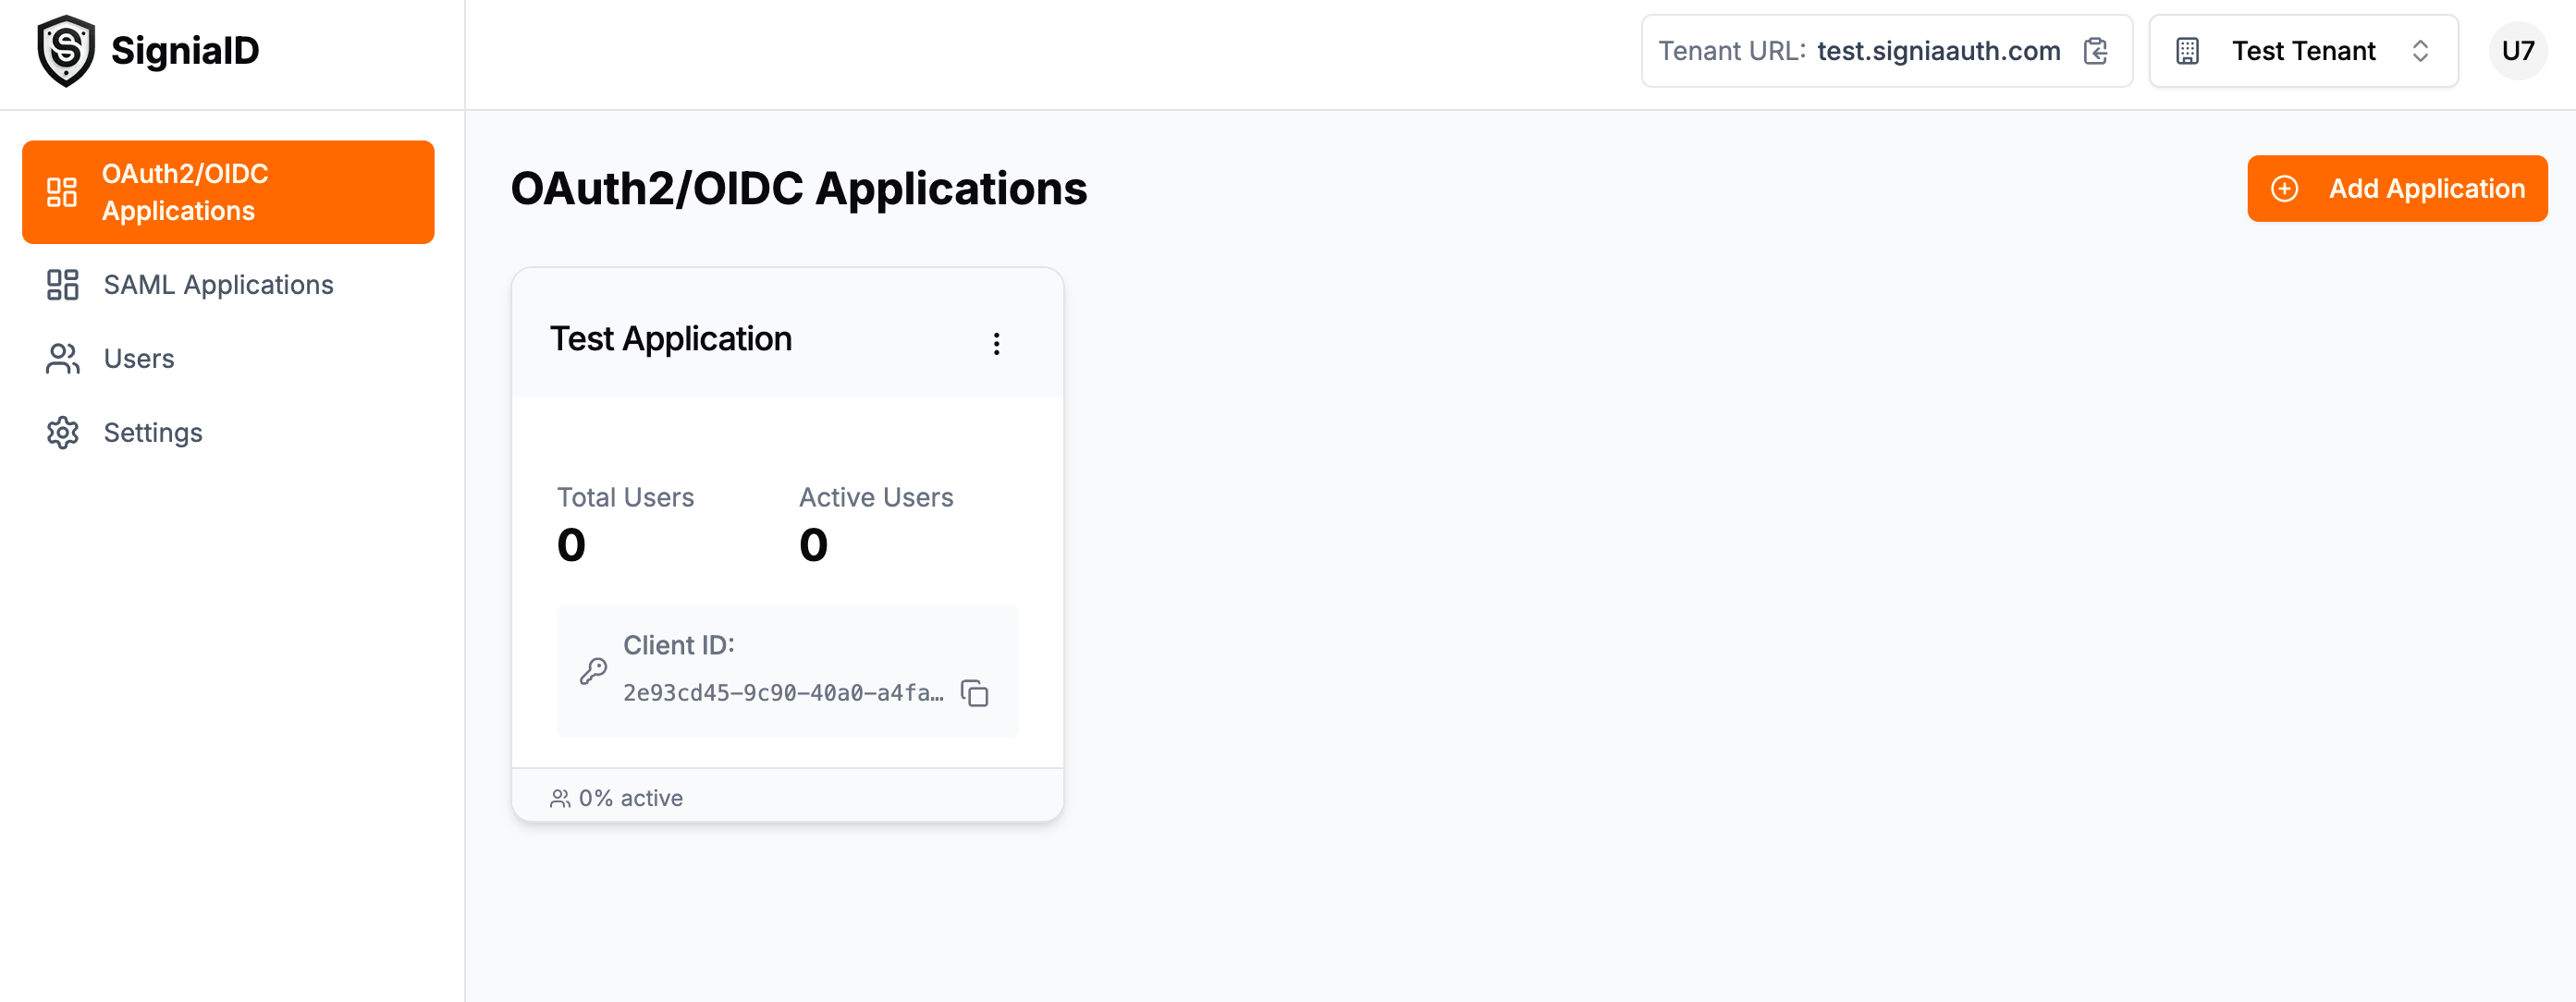
You'll receive a Client ID - copy this, you'll need it in the next step.
Look at the top-right corner of the dashboard to find your Tenant URL (e.g., test.signiaauth.com). This is your OIDC issuer domain.
The Signia SDK automatically appends /login and /logout to your base redirect URI. So if you configure redirectUri: 'http://localhost:5173/oidc-callback' in your code, the actual callback URLs will be:
- Login:
http://localhost:5173/oidc-callback/login - Logout:
http://localhost:5173/oidc-callback/logout
Make sure to add both URLs in the dashboard configuration above.
Step 2: Install Signia SDK
Create a new Vite + React project and install the Signia packages:
# Create a new Vite project
npm create vite@latest my-signia-app -- --template react-ts
cd my-signia-app

# Install Signia packages
npm install @getsignia/signia-auth-sdk @getsignia/signia-auth-ui-react

# Install React Router (for routing)
npm install react-router-dom
Step 3: Configure Authentication
Update your src/main.tsx:
import React from 'react';
import ReactDOM from 'react-dom/client';
import { BrowserRouter } from 'react-router-dom';
import { SigniaAuthProvider } from '@getsignia/signia-auth-ui-react';
import App from './App';
import './index.css';

ReactDOM.createRoot(document.getElementById('root')!).render(
  <React.StrictMode>
    <SigniaAuthProvider config={{
      clientId: 'my-app-abc123',                     // Copy from Signia ID Dashboard
      redirectUri: 'http://localhost:5173/oidc-callback',
      issuer: 'https://YOUR_TENANT.signiaauth.com',  // Your tenant URL
      scopes: ['openid', 'profile', 'email']
    }}>
      <BrowserRouter>
        <App />
      </BrowserRouter>
    </SigniaAuthProvider>
  </React.StrictMode>
);
The OIDC client automatically discovers all endpoints from your issuer's .well-known/openid-configuration. You only need to provide the issuer URL!
Step 4: Add Login/Logout
Update your src/App.tsx:
import { Routes, Route, Link } from 'react-router-dom';
import {
  LoginButton,
  LogoutButton,
  useSigniaAuth,
  ProtectedRoute
} from '@getsignia/signia-auth-ui-react';

function HomePage() {
  const { user, isAuthenticated } = useSigniaAuth();

  return (
    <div>
      <h1>Home Page</h1>
      {isAuthenticated ? (
        <>
          <p>Welcome, {user?.email}!</p>
          <Link to="/protected">Go to Protected Page</Link>
        </>
      ) : (
        <p>Please log in to continue</p>
      )}
    </div>
  );
}

function ProtectedPage() {
  const { user } = useSigniaAuth();

  return (
    <div>
      <h1>Protected Content</h1>
      <p>Only authenticated users can see this!</p>
      <p>User ID: {user?.sub}</p>
    </div>
  );
}

function App() {
  const { isAuthenticated, isLoading } = useSigniaAuth();

  return (
    <div style={{ padding: '2rem' }}>
      <nav>
        <Link to="/">Home</Link> | <Link to="/protected">Protected</Link>
        <div style={{ float: 'right' }}>
          {isLoading ? (
            'Loading...'
          ) : isAuthenticated ? (
            <LogoutButton />
          ) : (
            <LoginButton />
          )}
        </div>
      </nav>
      <hr />
      <Routes>
        <Route path="/" element={<HomePage />} />
        <Route
          path="/protected"
          element={
            <ProtectedRoute loadingComponent={<div>Verifying...</div>}>
              <ProtectedPage />
            </ProtectedRoute>
          }
        />
      </Routes>
    </div>
  );
}

export default App;
Step 5: Run Your App
npm run dev
Visit http://localhost:5173 and click the Login button!
🎉 That's It!
You now have a fully functional authentication system with:
✅ Secure OIDC/OAuth2 authentication ✅ WebAuthn/Passkey support ✅ Protected routes ✅ User session management
Next Steps
- Learn about Core Concepts - Understand how Signia works
- Explore React SDK - Deep dive into React integration
Troubleshooting
"Invalid redirect URI" error
Make sure the redirect URI in your code matches exactly what you configured in the Signia dashboard (including the protocol and port).
Login button does nothing
Check your browser console for errors. Ensure your OIDC issuer URL is correct and includes https://.